
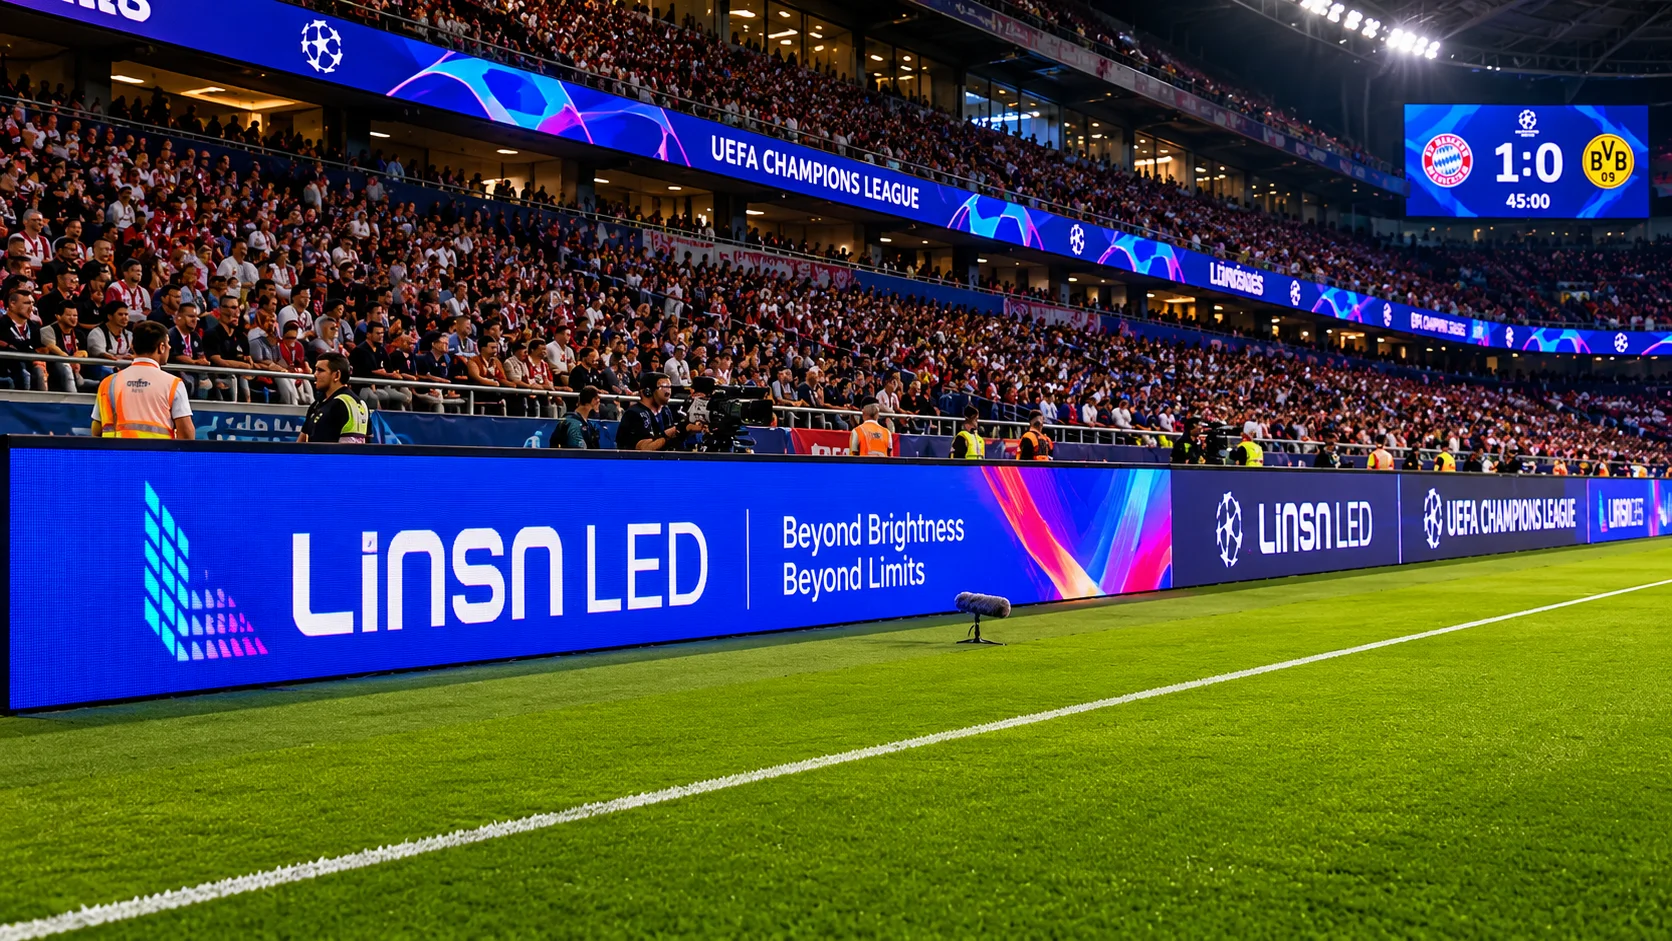
Why this matters to you — a user-first view
You want an outdoor screen that actually works for your crowd, right? Start with the use-case: advertising, live sport, or community messaging. That focus decides everything — size, viewing distance, and content flow. For many venues, the simplest win is a modular led screen with clear brightness control and a content management system that your staff can update without calling a technician.
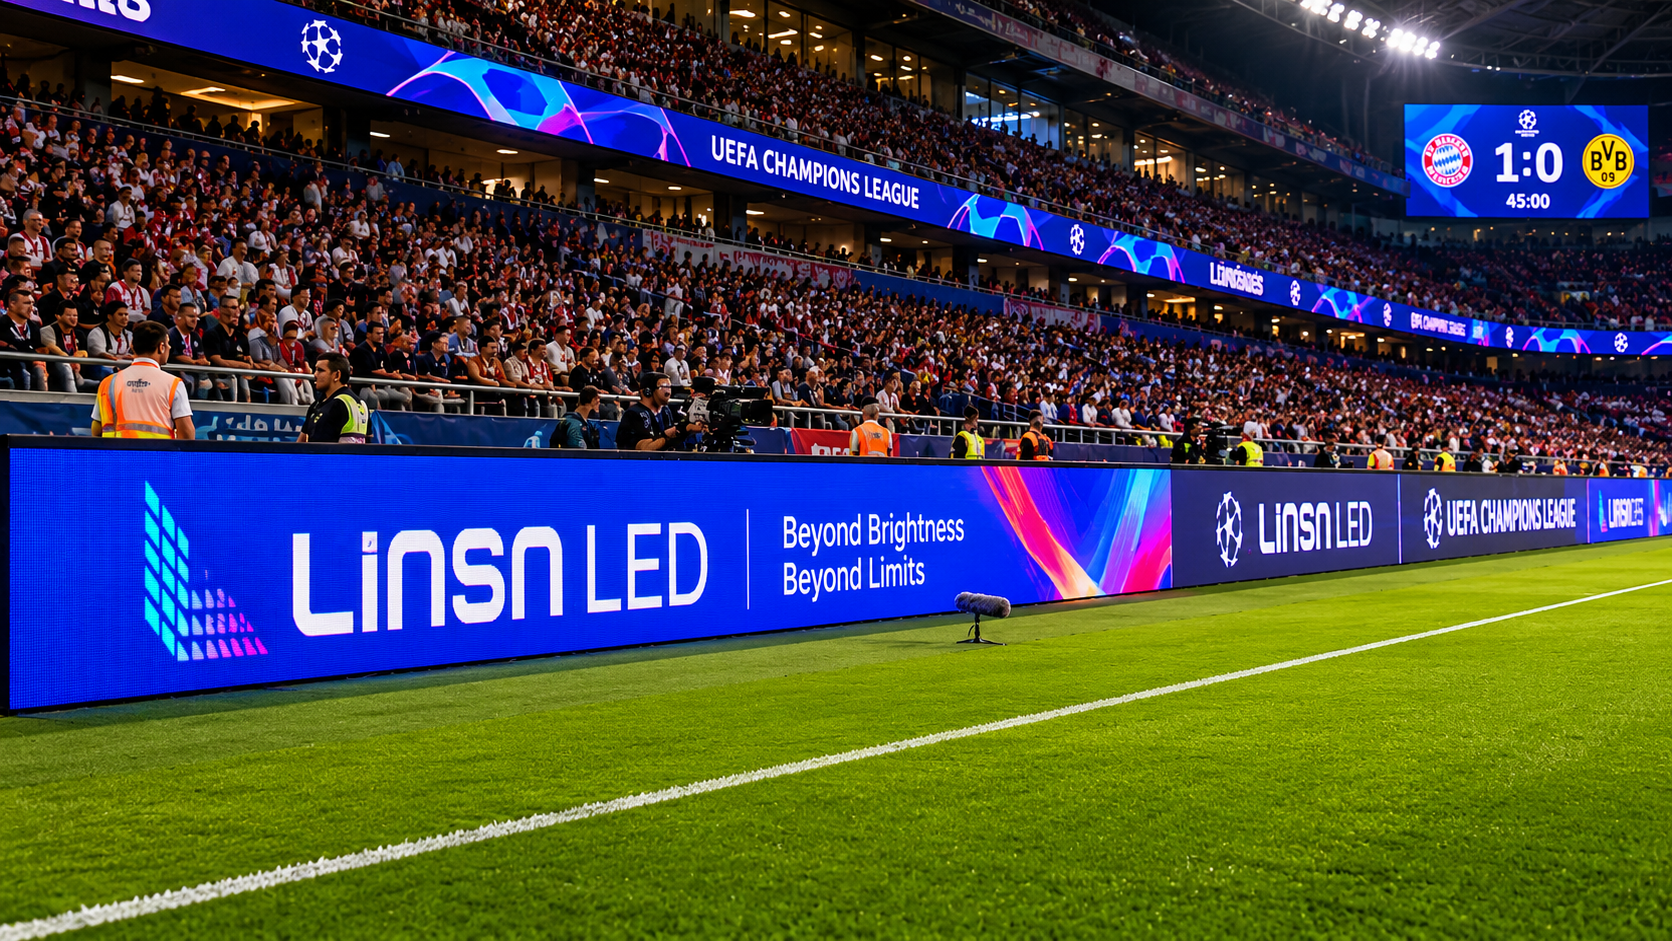
Core tech choices that shape outcomes
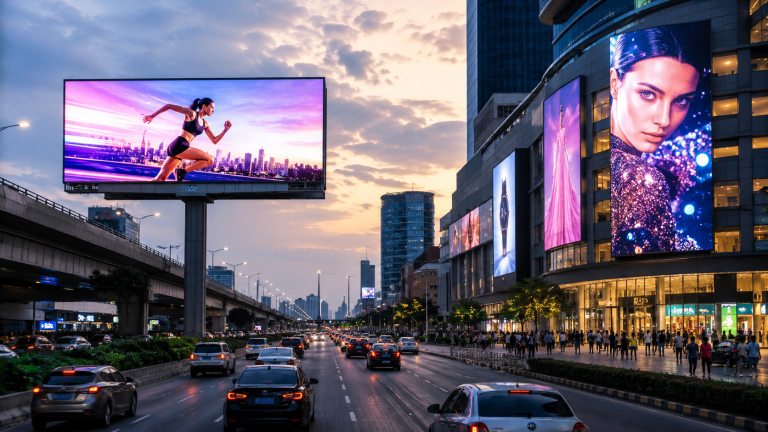
Pick the right panel specs early. Pixel pitch sets readable distance; choose tighter pitch only if viewers get close. Brightness (nits) matters more outdoors — 5,000 nits or above often needed under direct sun. Weather protection is non-negotiable: IP65 or better for coastal or heavy-rain locations. Add refresh rate and proper signal routing so live video looks smooth. Look at proven real-world examples like Times Square billboards for scale — those installations show how high brightness and good thermal design keep content legible day and night. Use these specs to brief suppliers and installers.
Design pitfalls and how users avoid them
Many projects fail not for tech, but for bad placement and content planning. Don’t put a screen where sightlines are blocked, and avoid tiny text on fast-moving video. Plan for service access and cable runs during design — panels need rear access for repairs. Choose a mounting structure rated for wind loads and corrosion. Also plan the power: LED walls draw significant current and need stable supply plus surge protection. For content, build templates that match your screen’s aspect ratio and pixel pitch — this saves hours of resizing later. — A small fix like consistent template use saves headaches during event nights.
Installation, operation, and maintenance basics
Use modular panels and a known CMS so replacement is straightforward. Have spare modules and a tested fault-recovery plan. Routine tasks include calibration for colour and brightness, checking connectors, and cleaning ingress points. Monitor thermal performance: excess heat shortens LEDs. Also schedule firmware updates for controllers and record uptime stats monthly — good data helps justify future upgrades.
Costs, procurement, and vendor checks
Procurement should treat the screen as a system: structure, panels, controllers, software, and service. Validate vendor references — installations at stadiums or city centers are better proof than showroom demos. Ask for performance tests: sunlight legibility tests, IP ingress reports, and heat cycling logs. Confirm warranties cover panels and labour; check lead times for spare parts. If you want a baseline: similar outdoor displays in North American stadiums often budget 30–40% of total spend on supporting structure and cabling alone.
Advisory — three golden metrics to evaluate options
Use these practical metrics when you compare proposals:
- Viewing Readability Score — based on pixel pitch vs. minimum viewing distance; prefer a vendor who shows mockups at real scale.
- Operational Brightness & Power Profile — supplier should provide measured brightness (nits) at full panel and expected power draw at typical brightness.
- Serviceability Index — time-to-replace (minutes per module) and availability of on-site spares; aim for under 30 minutes per module replacement during events.
These three rules keep procurement focused on real performance and predictable running costs. For practical installs and steady uptime, vendors that demonstrate these numbers usually deliver better results — and that’s what matters on game day and during big campaigns. led display integration becomes simple when you demand clear metrics up front.
Trust projects that show measured data and tested deployments — not just glossy renders. Coblinks. – reliable, practical, proven.