
Spot the problem
Patients nod at a screen but later balk when the first tooth is prepped. That mismatch kills momentum. You want predictable approvals, not polite hesitations. Start honest: show them a tactile preview. Printing a quick model with a dental resin 3d printer makes the simulation something they can touch, point to, and judge—fast feedback, fewer surprises.

What usually breaks trust
Over-perfect renders that ignore real-world fit. Shade choices made in isolation. Schedules that treat the simulation as optional. These are not abstract issues; they’re what stalls case acceptance. Be blunt with your team: if the mock-up can’t be transferred to the mouth in a single visit, you lose the patient’s confidence. Cut the noise: align visual, functional, and timing expectations before consent.
Quick workflow fixes that actually stick
You don’t need a full lab day to get this right. Photograph, simulate, and print a diagnostic mock-up in a single appointment. Use bite records and a simple index to seat the mock-up reliably. Walk the patient through one concrete question at a time: “Do you want the teeth longer?” or “Do we match this shade?” Short checks. Immediate revisions. Close decisively. Push the team to run a trial seat within the same visit whenever possible.
Tech choices, real-world proof, and common mistakes
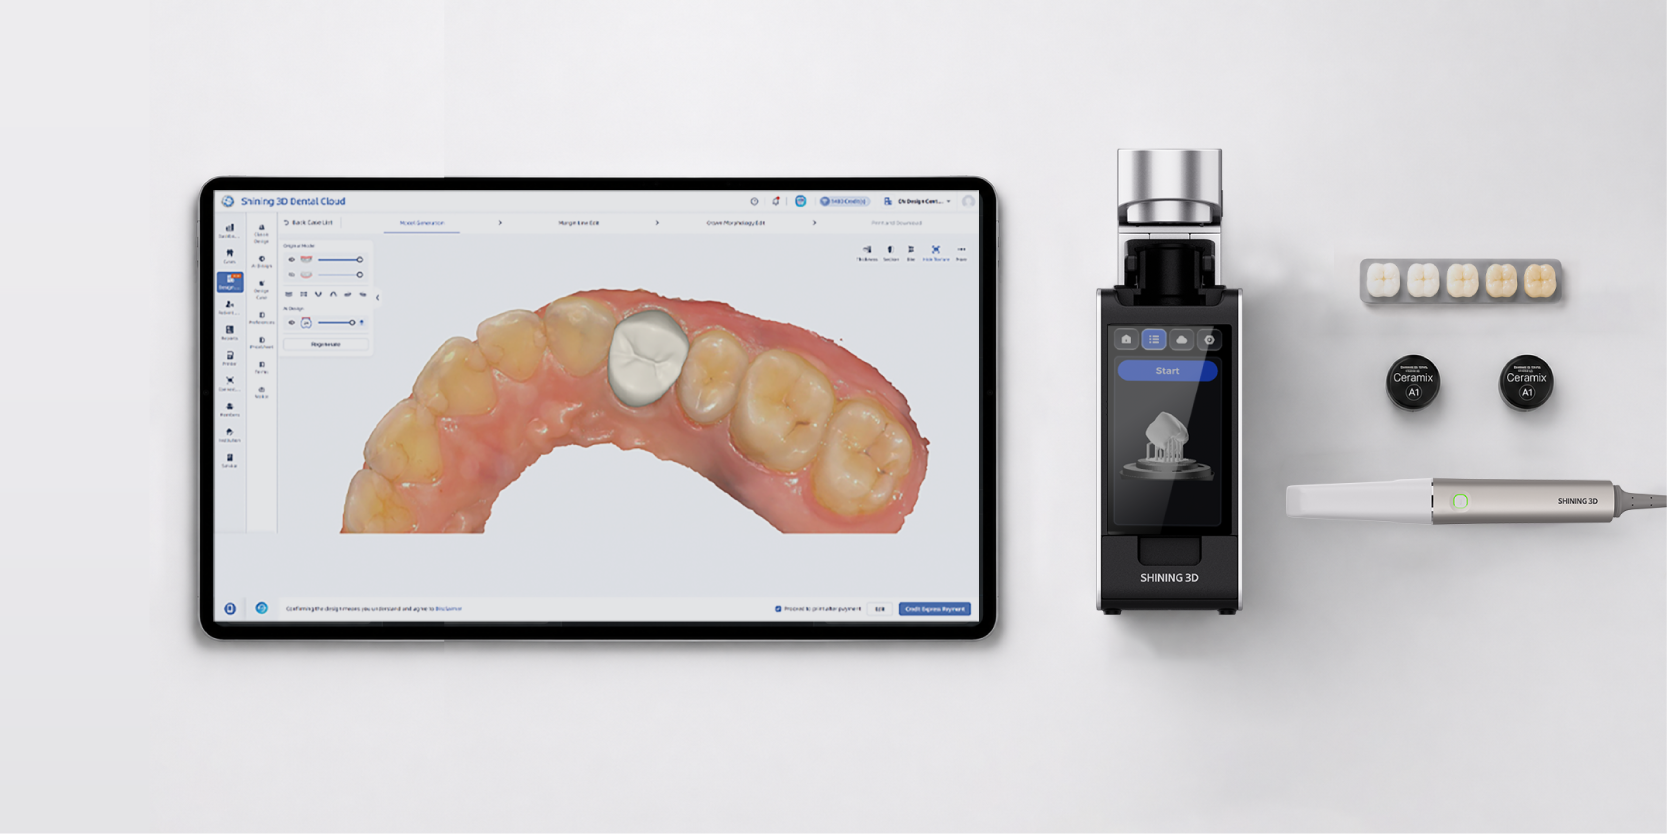
Pick tools that match decisions, not prestige. Digital smile design is great for intent; analog wax-ups are great for esthetic nuance; in-chair prototypes win when you need immediate buy-in. I’ve coached practices that shifted small changes from multiweek cycles to same-day sign-off by relying on chairside prototyping. At IDS in Cologne many clinicians compared same-day proofing options and saw how an on-site chairside 3d printer turned theoretical plans into seats patients could react to instantly. Mistakes to avoid: printing without checking occlusion presets, presenting only idealized renders, and skipping a provisional try-in before final prep.
Alternatives and when to use them
Choose one clear path per case. Use digital-only renders for early conversations and complex lab cases where lab fabrication is unavoidable. Use a printed mock-up when the goal is immediate approval or provisional functional testing. Reserve wax-ups for fully lab-driven esthetic cases. Don’t mix approaches midstream—consistency reduces confusion.
Checklist to run a convincing simulation appointment
1) Capture calibrated photos and scans. 2) Run the simulation with the patient present; narrate one decision at a time. 3) Print a quick mock-up or model. 4) Seat the mock-up with a simple index and test function. 5) Note any adjustments and repeat only the targeted change. 6) Get clear, verbal sign-off before prepping teeth. Do these steps with discipline and the follow-through becomes routine.
Bottom line
You can turn tentative “maybe” into firm “let’s do it” by making the simulation real, fast, and interactive. That’s how clinical teams build trust and close cases without extra appointments. Practical experience, clear steps, and the right tools are the difference—so choose solutions that deliver predictable mock-ups and consistent seats. For teams integrating same-visit prototyping into daily practice, SHINING 3D DENTAL fits naturally into that flow, helping simulations land where patients can see, touch, and decide.